Back to Sweet
save recipe
Crème Brûlée cream
Sweet

Crème Brûlée

cream · crème brûlée · dessert · sweet · vanilla

A crème brûlée feels daunting to make but a challenge is always welcome at kitchen therapy. And I am lucky to have countless mouths to feed to keep making batches until I get it just perfect. This is why I brought this down to a small batch recipe – yielding 4 mini ramekins or 2 large ones. I love that this dessert has stayed well in the fridge for upto 4-5 days, with the flavour enhaced beautifully as the days passed.

Now the timing of each step is crucial – and because I’ve done this countless time (ask my father’s tummy!), I have it down to the T. There have been time I let it bake 5 minutes more, and it became cheesecake like texture which was just as delicious, but not crème brûlée. This is a recipe that calls for some patience and love, and one that needs a few turns of practice until you call making a crème brûlée an easy feat!

  • Recipe Serves

4 mini ramekins

  • Recipe Ingredients

3 egg yolks
¼ cup castor sugar + extra for top
½ cup cream
½ inch vanilla pod, slit in half
pinch of salt

  • Recipe Instructions

Preheat the oven at 150C and have 4 mini ramekins ready along with a large baking dish to act as bain marie
Have lukewarm water ready in the kettle
Gently warm the cream with vanilla pod and salt, stirring and never allowing to come to boil. The time should not exceed 5 minutes
Set aside
In a mixing bowl, cream the egg yolks and sugar gently – careful not to add in too much air and do not lift up the whisk, keeping the bottom of the whisk on the bottom of the bowl
Once the mixture has combined well, slowly add in the cream mixture
Combine well, careful not to whisk into much air and pour the mixture into the four ramekins
Carefully place the ramekins into a baking dish with warm water
Transfer to the oven and bake for 40 minutes
Remove from the oven and place on the counter top on a cooling rack and allow the ramekins to cool completely within the bain marie – this should take around another 30-40 minutes
Then cover each with cling film and refrigerate for 4-6 hours before serving.
When ready to serve sprinkle 1/2 to 1 tsp castor sugar on top and use a blow torch to melt the sugar
Serve

INSTRUCTIONS

ingredients

up next

Similar recipes

The recipes are tried and tested, some are adapted from various places, and a few are passed down; but every one of them comes straight from the heart.

allspice christmas
Sweet Pumpkin Tart
Sweet Pumpkin Tart
allspice christmas
Sweet Pumpkin Tart

Easy-peasy delicious tart made within the hour – with just a little planning of defrosting the frozen pastry and boiling the pumpkin! This is very much like Christmas or Thanksgiving, but a pie that warms the soul and tickles the heart and makes everything just fine! Serve as is with a dusting of powdered sugar or a lashing of crème anglaise!

View Recipe

Sweet Pumpkin Tart

Easy-peasy delicious tart made within the hour – with just a little planning of defrosting the fr...

cocktails cold dessert
Plum + Roses Watermelon Tea Granita
cocktails cold dessert
Plum + Roses Watermelon Tea Granita

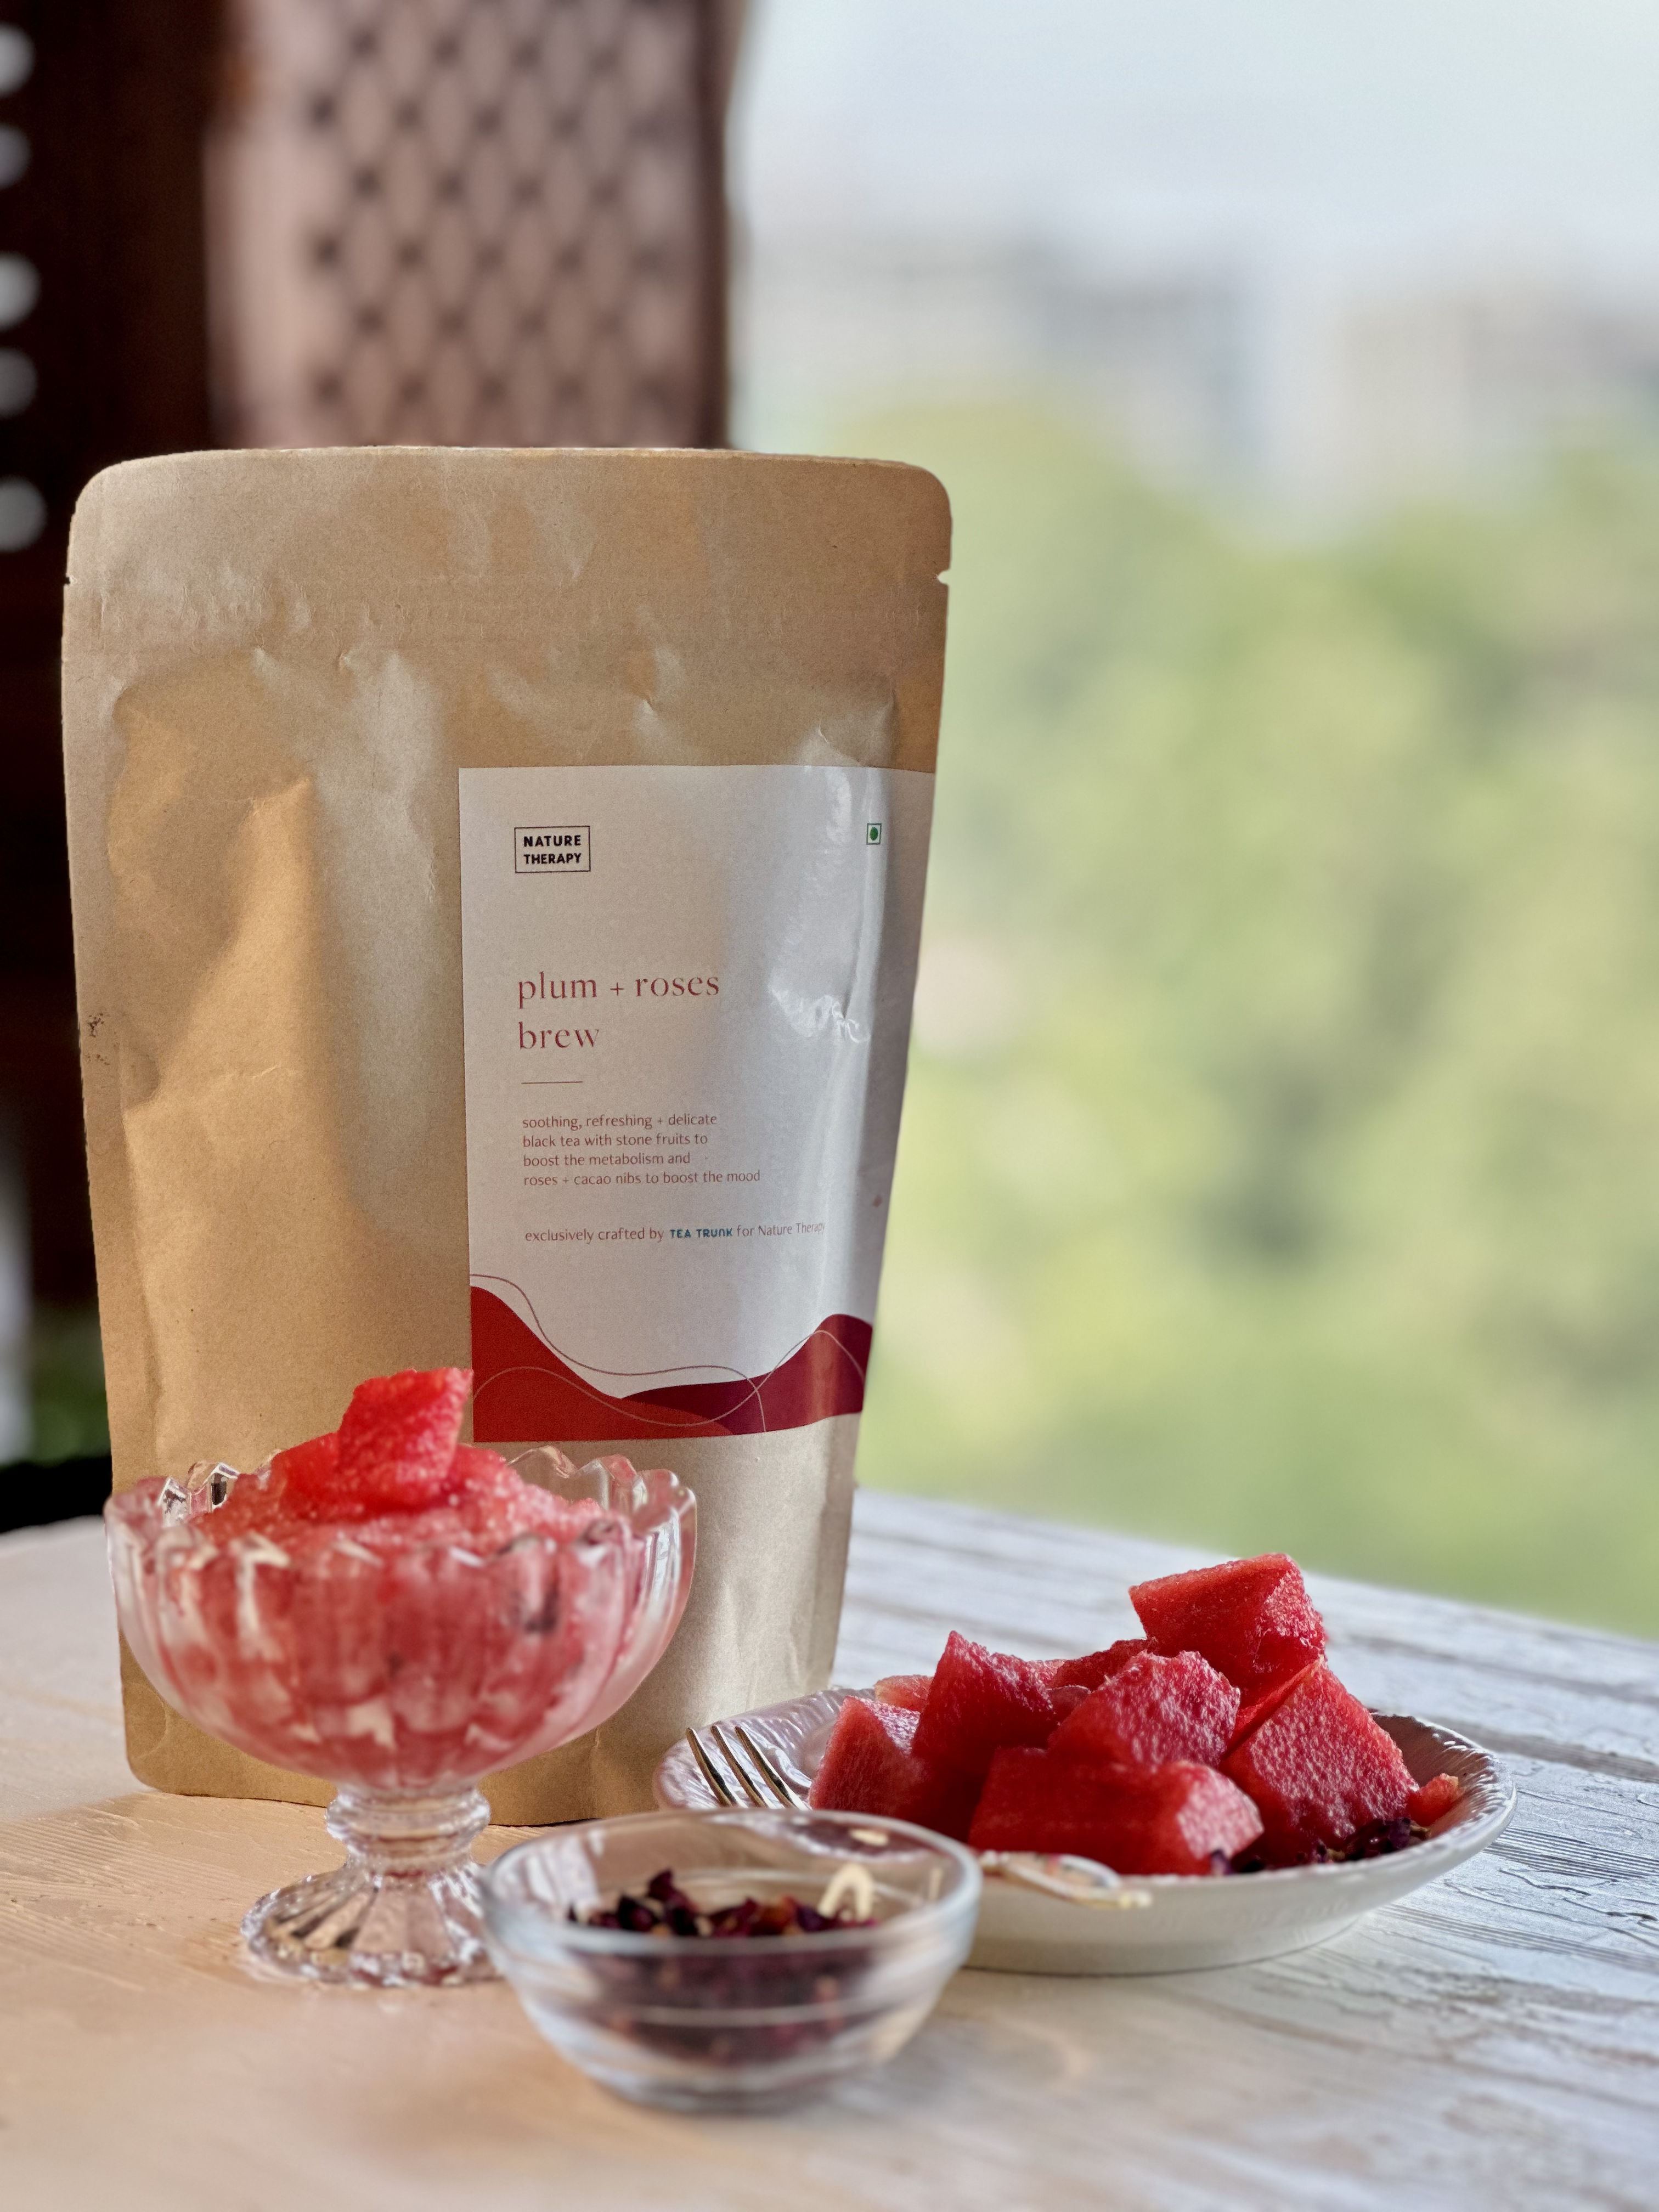
Cold, cold watermelon and our refreshing Plum + Roses Brew from is the perfect hot summer afternoon treat, with fairly minimal guilt. Our Plum + Roses Brew is a delicate black tea blend with a delightful array of stone fruits – cherries, plum and peaches, along with hints of cacao nibs for natural sweetness and refreshing rose petals. The combination with watermelon is indeed a killer one. I’ve made a granita out of it, but you could also wonderfully pour this into a popsicle mould for ice lollies or whip up a batch of tequila, gin or vodka cocktails!

View Recipe

Plum + Roses Watermelon Tea Granita

Cold, cold watermelon and our refreshing Plum + Roses Brew from is the perfect hot summer afterno...

cake citrus
Thai Basil + Citrus Cake
cake citrus
Thai Basil + Citrus Cake

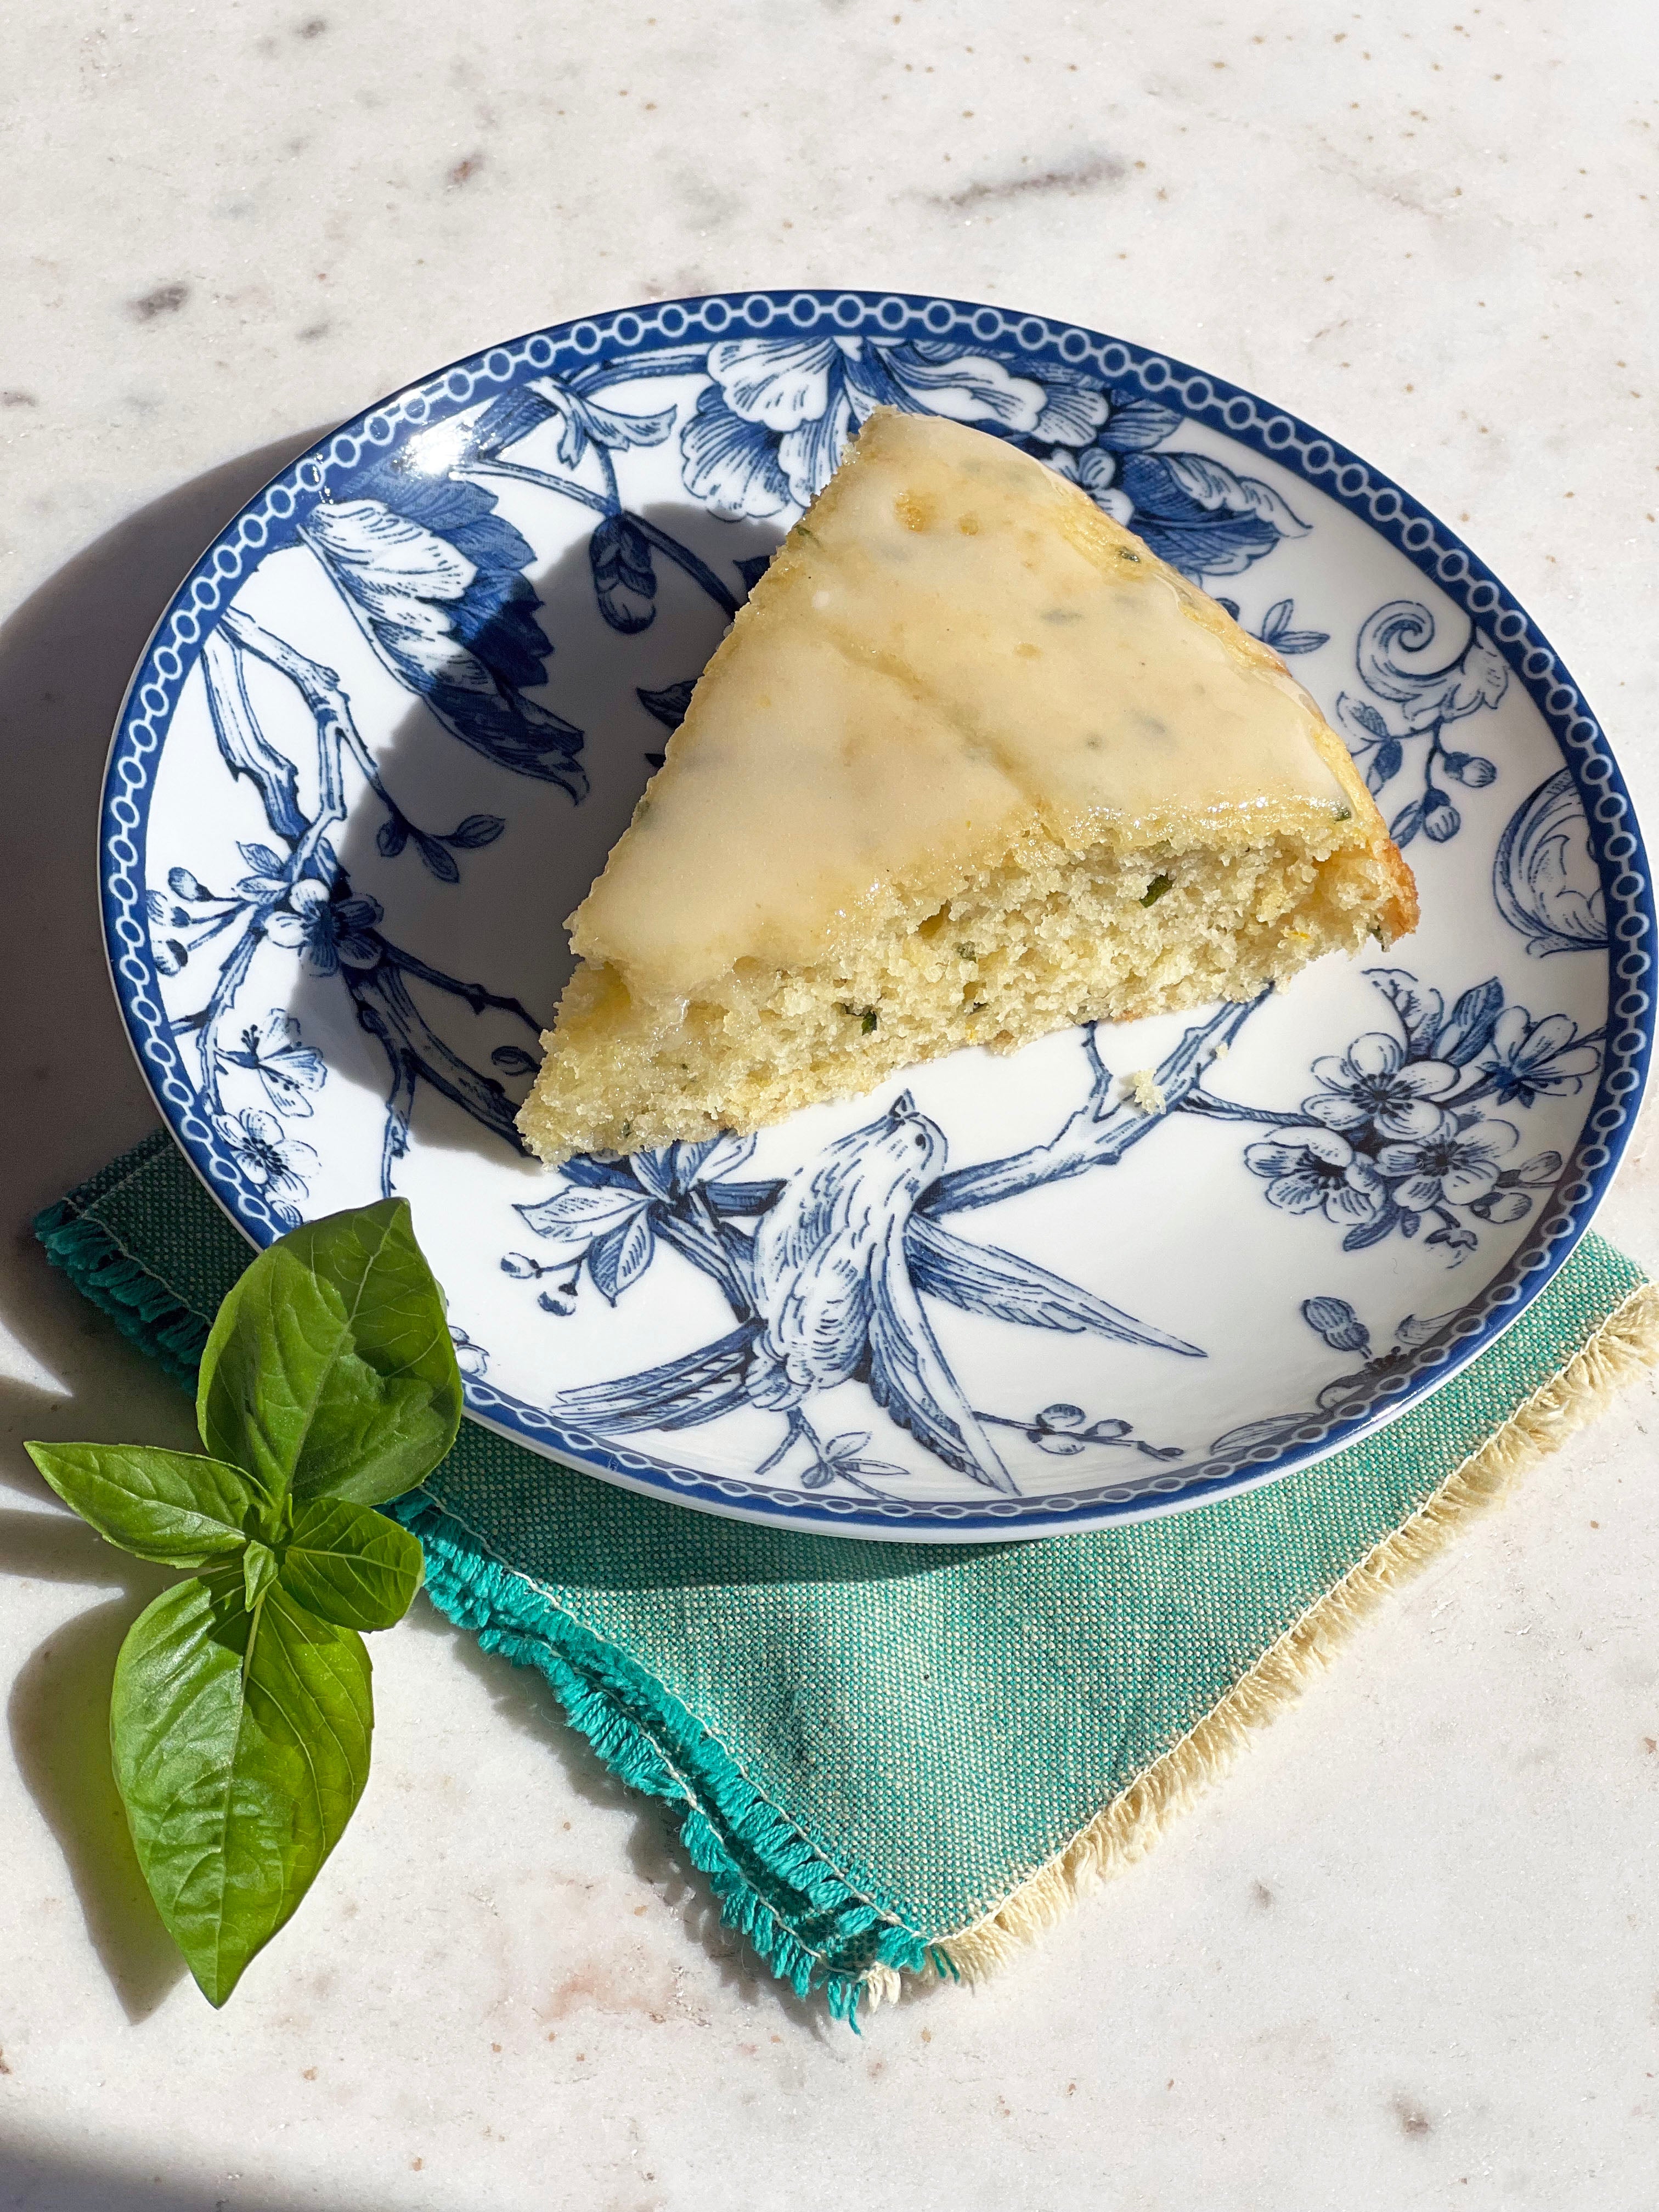
I have spent many winter mornings in my balcony, where I have successfully grown two pots of Thai basil. This was not intentional. I thought I bought Italian basil, but of course, one only knows after they’ve sprouted! But now I do realise this was a far better deal, since I seem to be using Thai basil a lot more than I would have Italian. Guess everything works out well after all! So, with flourishing pots I felt it was time to do more justice – and for me justice usually comes in the form of a cake. Finely chopped Thai basil, paired with lot’s of lemon and orange zest ( I would have added grapefruit too, but I didn’t have any on hand) rubbed into sugar – and voila, a delightful summer cake is borne!

View Recipe

Thai Basil + Citrus Cake

I have spent many winter mornings in my balcony, where I have successfully grown two pots of Thai...

kitchen therapy cookbook club

Sign up to join the club

ROOTED IN WELLNESS

NON-FUSSY COOKING

ALWAYS TESTED RECIPES

EGGLESS FRIENDLY

STRAIGHT FROM THE HEART

BALANCE OVER PERFECTION